Before creating an AWS SNS integration, the SNS topic you intend to integrate with should already exist in your AWS account. You also need to set up the topic’s Access Policy to allow Storyfier to publish to the SNS topic
Updating the SNS Topic Access Policy

1. Log in to the SNS page on the AWS Management Console
2. Go to Topics.
3. Click on the SNS Topic you intend to integrate with.
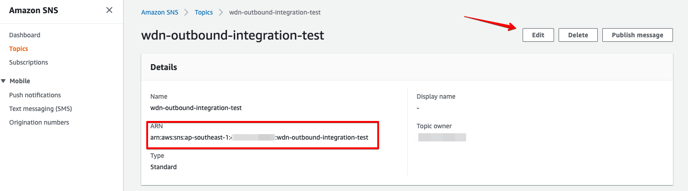
4 Copy the ARN of the SNS Topic.
5. Click on Edit.
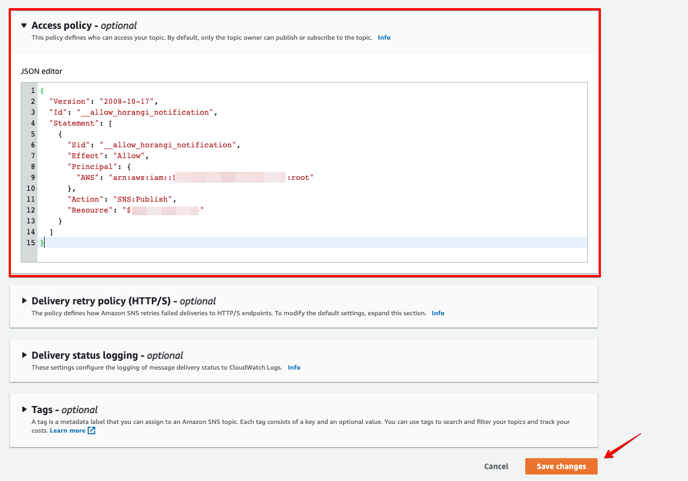
{

  "Version": "2008-10-17",

  "Id": "_horangi_sns_integration",

  "Statement": [

    {

      "Sid": "_allow_horangi_sns_publish",

      "Effect": "Allow",

      "Principal": {

        "AWS": "arn:aws:iam::396286753434:root"

      },

      "Action": "SNS:Publish",

      "Resource": "${SNS TOPIC ARN}"

    }

  ]

}
7. Click Save Changes.
Creating an AWS SNS Outbound Integration
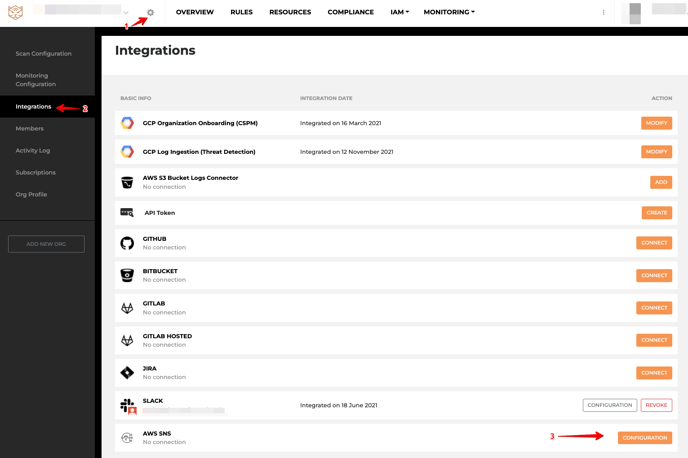
1. Go to Settings > Integrations
2. Click Configuration under AWS SNS. The AWS SNS Configuration menu should slide out from the right.
3. Click on Add New SNS Topic Destination.
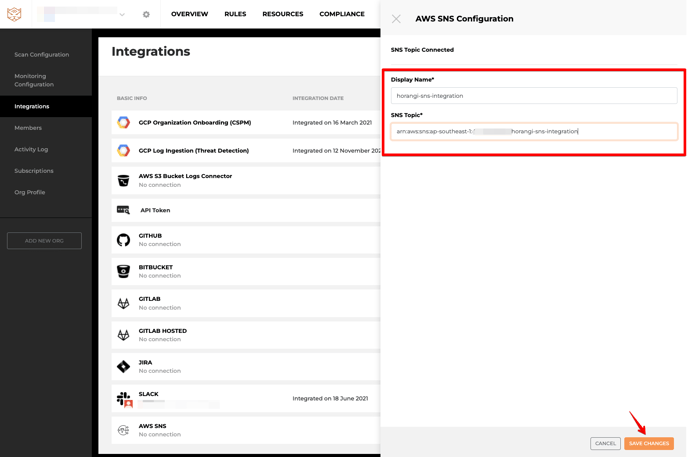
4. Type the Display Name and SNS Topic ARN. Both values must be unique.
5. Click Save Changes.
Deleting an AWS SNS Outbound Integration
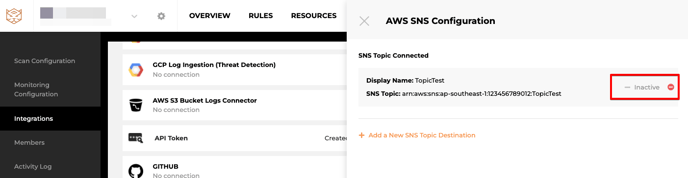
1. Click on the red minus sign next to the SNS topic to delete an existing SNS integration. You can delete an SNS destination provided that it is not used by an existing Scan Group (set to Active).
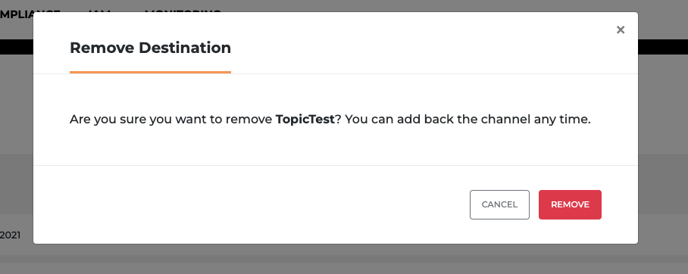
2) Click Remove on the confirmation dialog.