After you have completed the following onboarding steps, you can follow the steps in the guide Executing One-Click Remediation to start remediations in your GCP Project.
Remediation Onboarding
- Go to Organization Settings
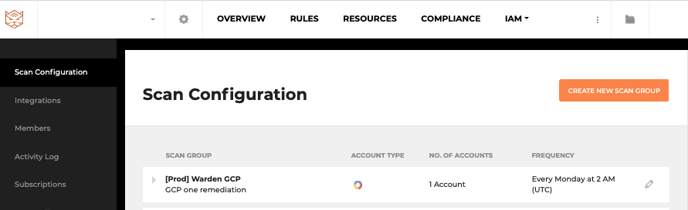
- Go to Scan Configuration
For a new scan action:
Note: Login to the GCP Account you want to add for adding a scan for.
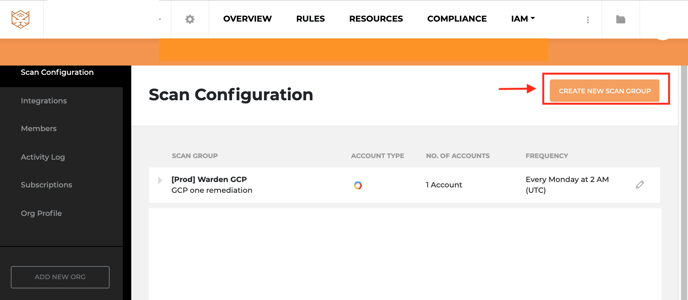
- Click Create New Scan Group
- Follow the instructions on Getting Started with Warden to add the Warden Scanner role.
- Proceed to Adding the Warden Remediation Role.
For an existing scan action:
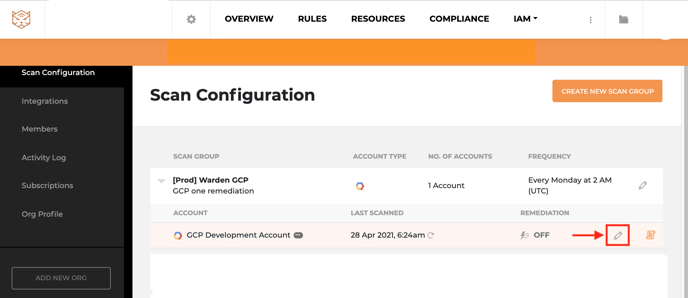
- Click the Pencil icon beside the scan you want to edit.
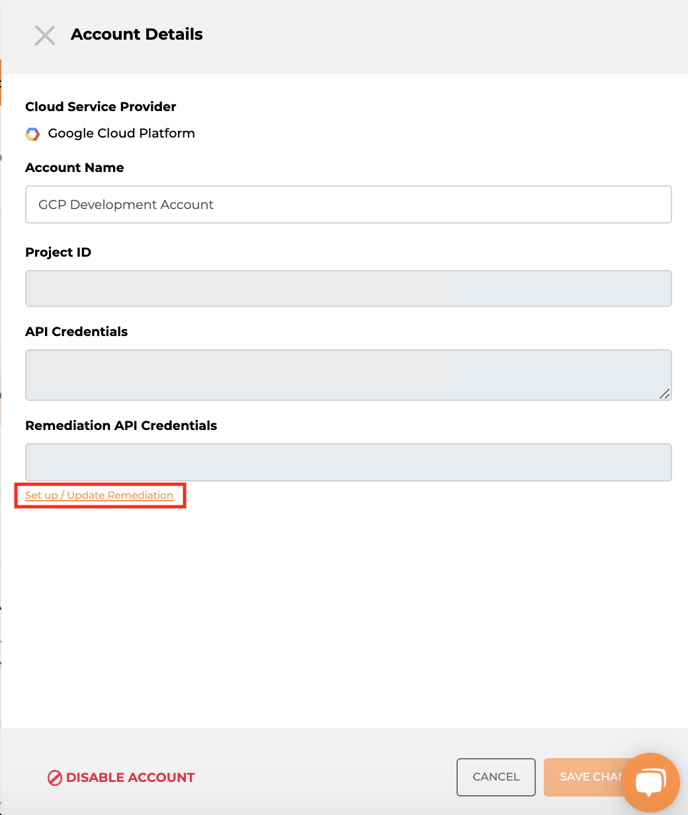
- Click on Set up / Update Remediate Role ARN.
- Proceed to Adding the Warden Remediation Role and follow the instructions in that section.
Adding the Warden Remediation Role (GCP)
- Do not close the creation screen during the GCP installation.
- Login to your GCP Account in another browser window.
- Make sure the GCP account you are logging in from has Administrator access
Setting up Warden in a GCP project can only be done the manual way at this time.
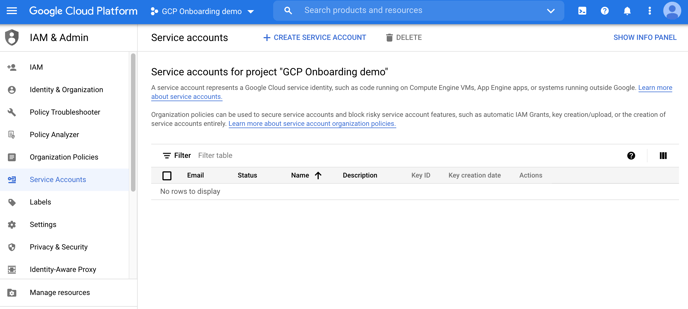
- Log into your Google Cloud Console, navigate to IAM Admin > Service Accounts and select the project to onboard.
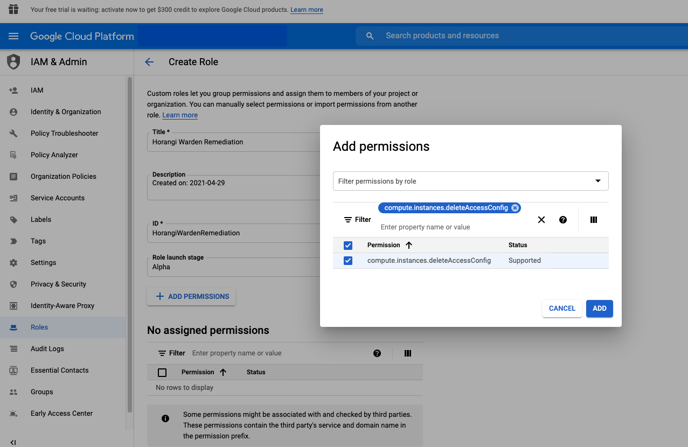
2. Navigate to IAM Admin > Roles. Click “CREATE ROLE”.
3. Under Title, enter Horangi Warden Remediation, then enter HorangiWardenRemediation as the ID.
4. Click on "ADD PERMISSIONS". Under "Filter table", enter and select the following permissions (you will have to do this one by one for each permission):
- compute.instances.deleteAccessConfig
- compute.instances.setMetadata
- compute.subnetworks.update
- resourcemanager.projects.setIamPolicy
- cloudkms.cryptoKeys.setIamPolicy
- cloudkms.cryptoKeys.get
- cloudsql.instances.update
- cloudsql.instances.get
- storage.buckets.update
- iam.serviceAccounts.actAs
- Storage.buckets.get
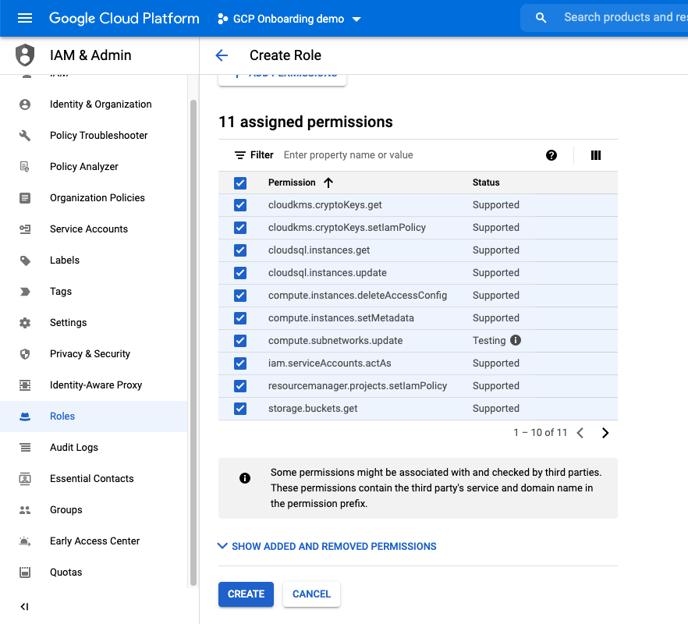
5. Once all the permissions have been selected, click on "ADD". Then Click "Create" to finish creating the custom role.
6. Navigate to IAM Admin > Service Accounts..
7. Click on "Create Service Account".

8. Under Service account details, enter Horangi Warden Remediation in the "Service account name", then enter Horangi API Access for Remediation in the "Service account description".
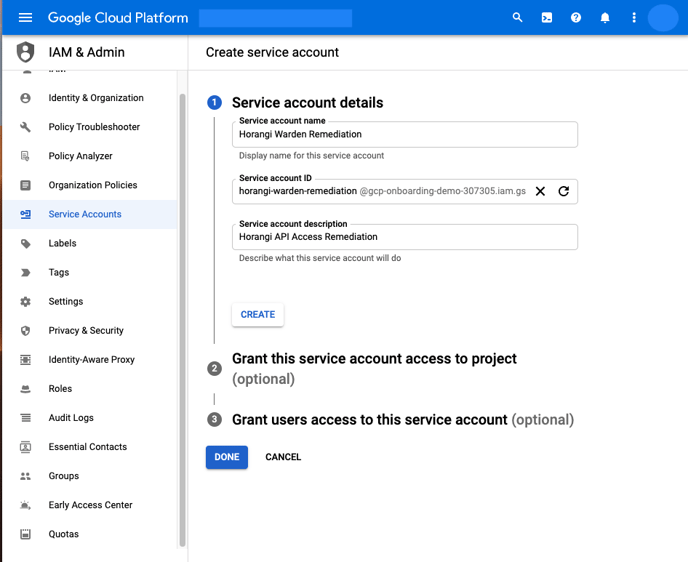
9. Click on “Create”.
10. Under "Grant this service account access to the project (optional)", select the following roles to attach to the service account.
1. IAM > Security Reviewer
2. Compute Engine > Compute Network Viewer
3. BigQuery > BigQuery Metadata Viewer
4. Binary Authorisation > Binary Authorisation Policy Viewer
5. Custom > Horangi Warden Remediation (This is the Role created earlier)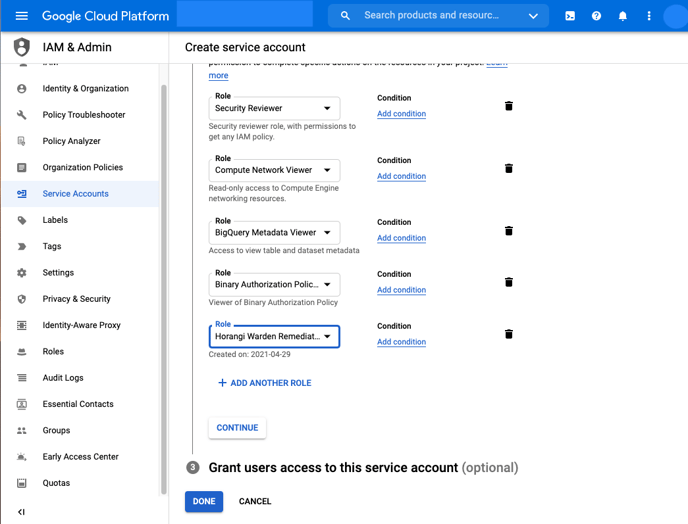
11. Click on “Done”.
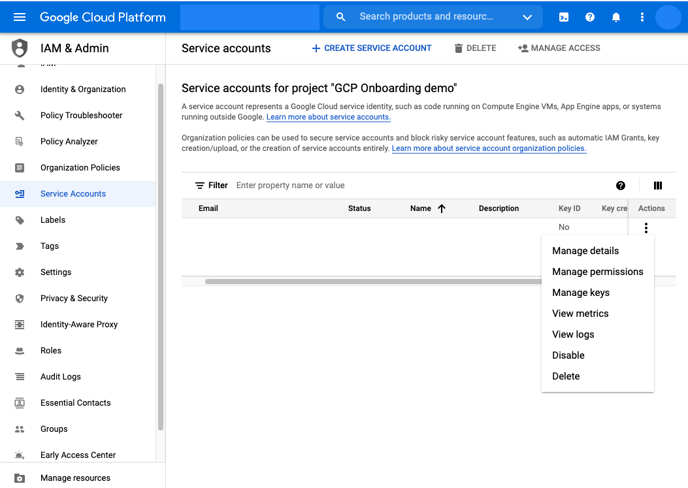
12. Note down the email address of the service account you just created (Horangi Warden Remediation). Click on the menu icon (3 dots) under the action column for the service account that was just created and click on “Manage Keys”.
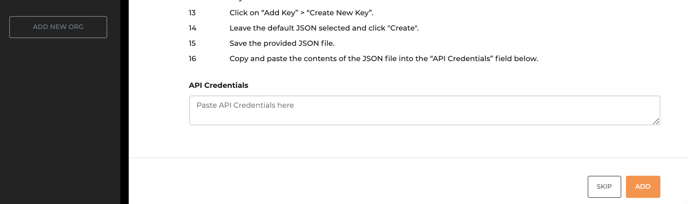
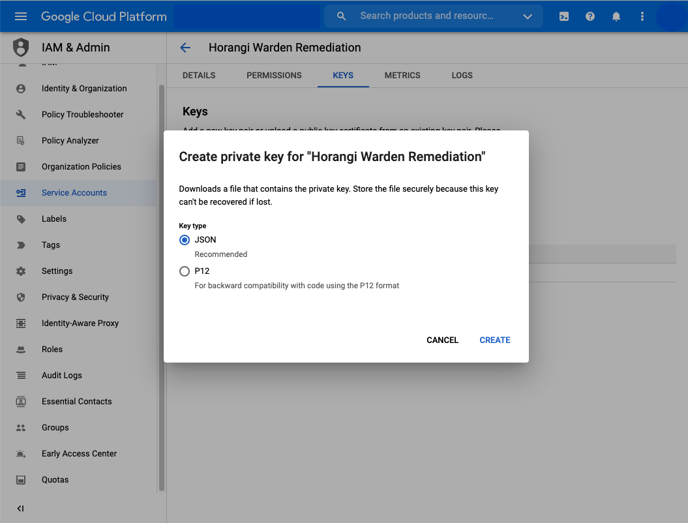
13. Click on “Add Key” > “Create New Key”.
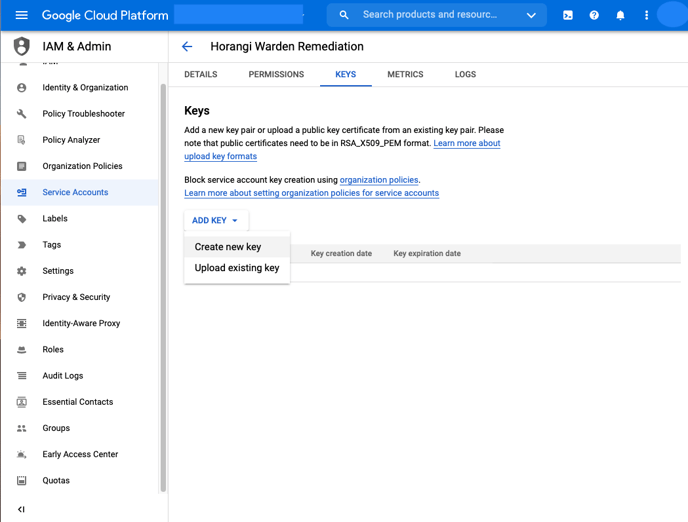
14. Leave the default JSON selected and click "Create".
15. Save the provided JSON file.
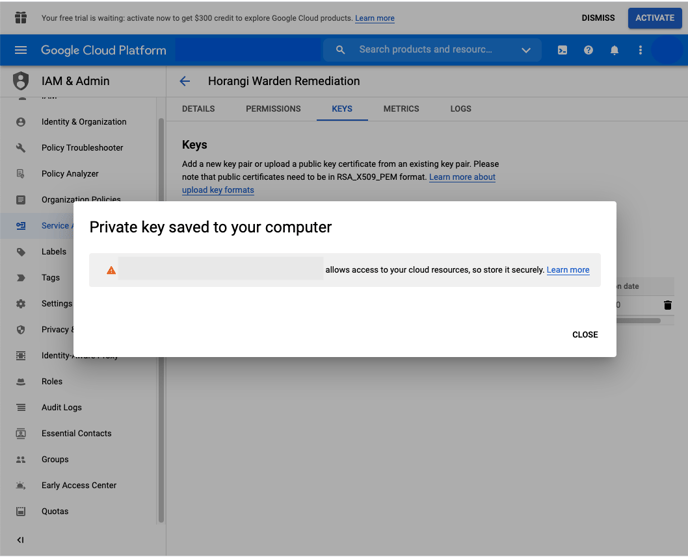
16. Go back to Storyfier and paste the contents of the JSON file into the “API Credentials” field.