As new rules are built for Warden, more permissions are required to get the necessary data for these rules. If you have an existing Azure scan in Warden, you can update the permissions for your scan in Azure by following the steps below:
Update Azure Active Directory App Permissions
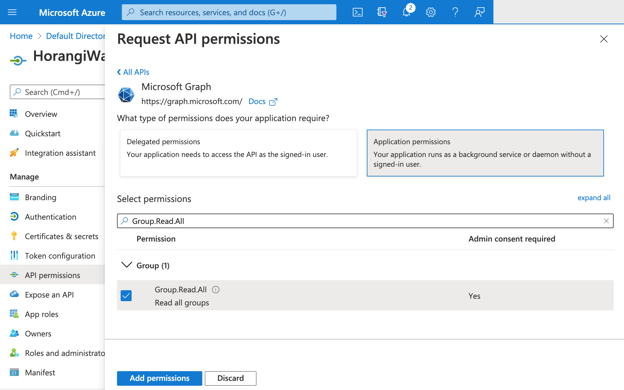
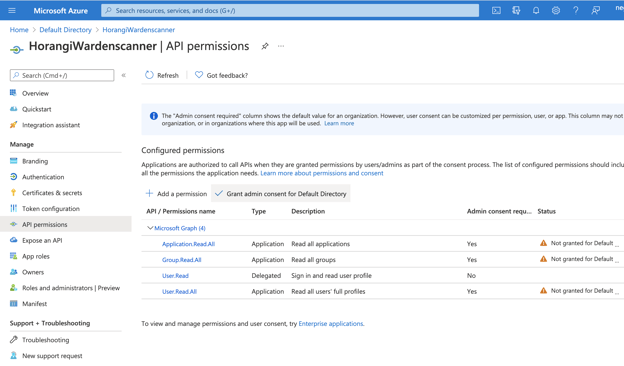
Warden requires the following Active Directory App Permissions:
- User.Read.All
- Group.Read.All
- Application.Read.All
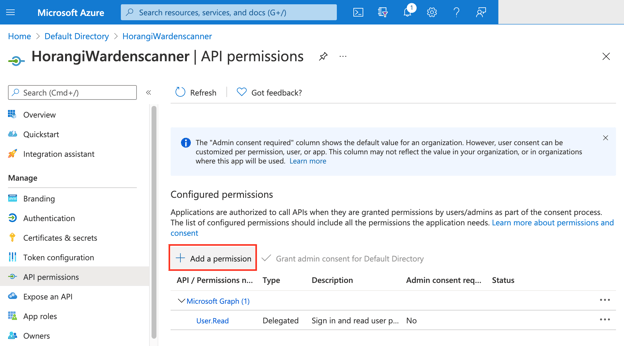
To add new permissions into Azure Active Directory, go through the following steps:
- Navigate to the Azure Active Directory service.
- Go to App Registrations and select the appropriate application.
- On the left, click on API permissions, then click Add a permission.

6. Click Add permissions at the bottom of the window.
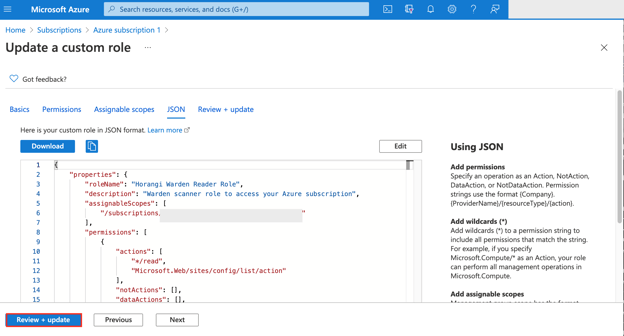
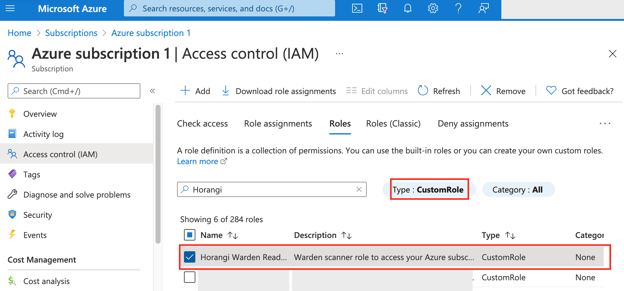
Update Azure Custom Role Permissions
Warden requires the Azure subscription custom role to have the same permissions as the role in this file.
To add new permissions to your Azure Subscription, go through the following steps:
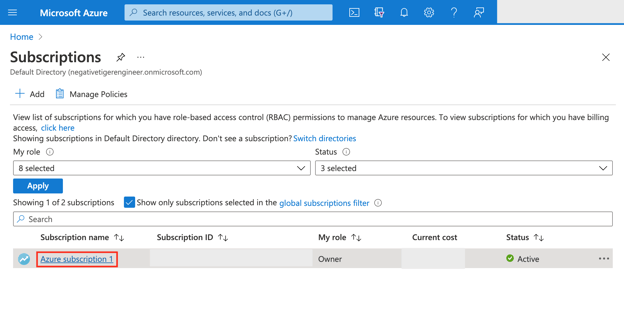
- Navigate to Subscriptions, and select the target subscription.
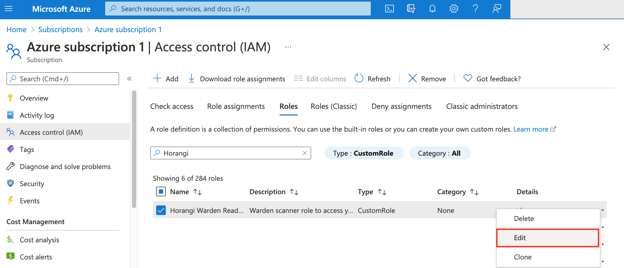
4. Go to the JSON tab, click on Edit.
5. Update the permissions section of the JSON object with the permissions section listed in the file above.
6. Click Review + update and click Update.