If you want to export your scanner results to a self-hosted Gitlab Enterprise platform, please follow these steps:
In order for self-hosted Gitlab Enterprise to work, kindly whitelist the following IP addresses: 52.220.201.3, 52.77.14.214
To integrate Storyfier with Gitlab Enterprise:
- Go to Organization Settings
- Click on Integrations.
- Click on Connect next to Gitlab Hosted.
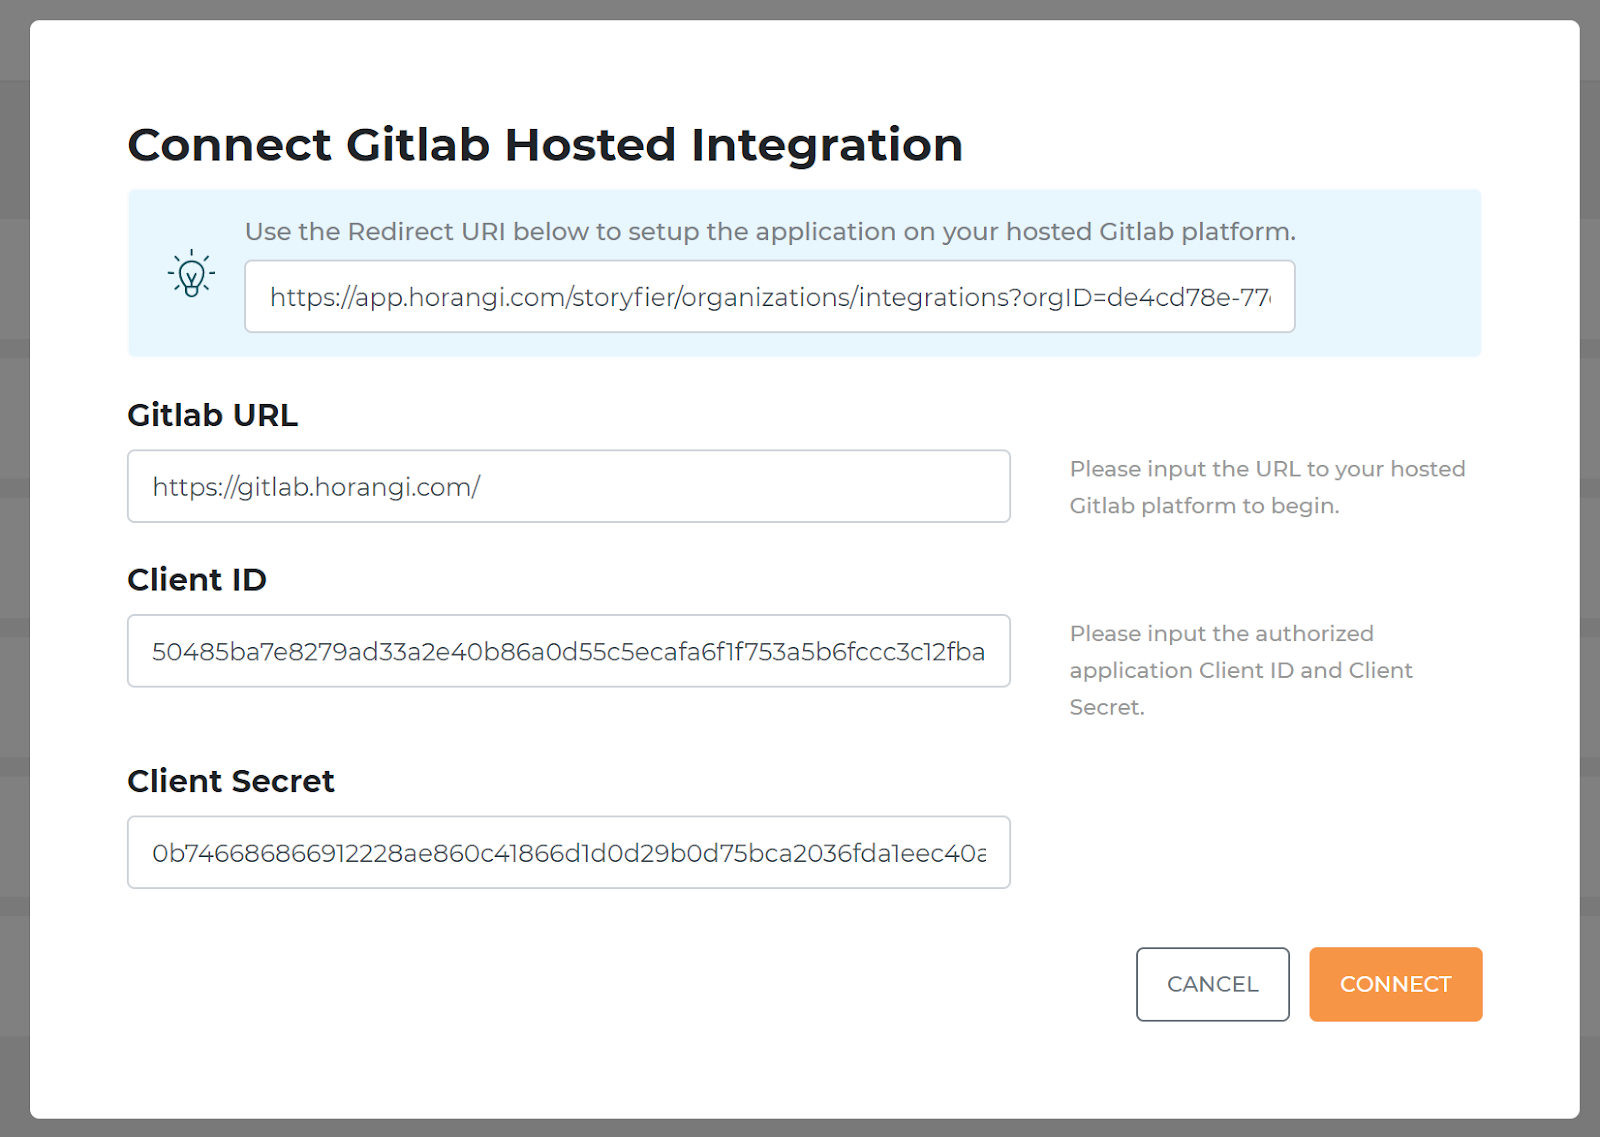
- You should see a popup with a text box containing the Redirect URI you will use during the integration process.
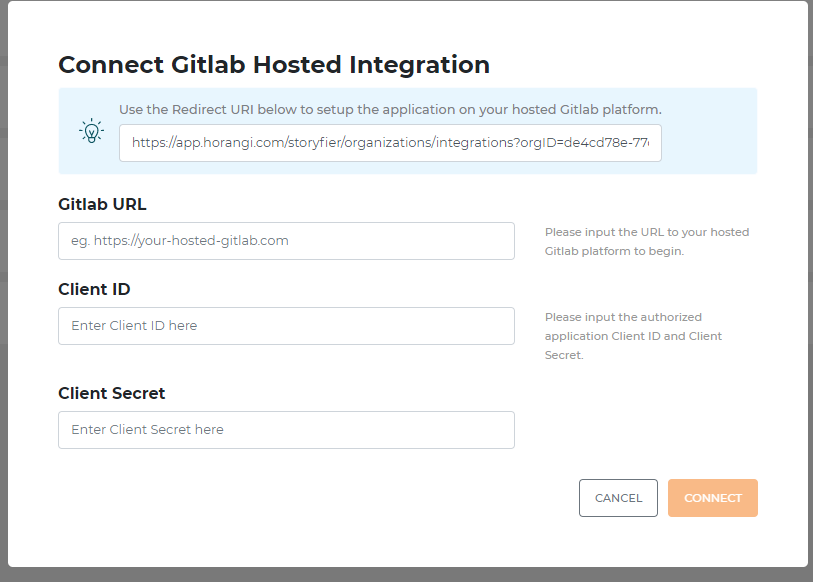
- Copy the Redirect URI to your clipboard.
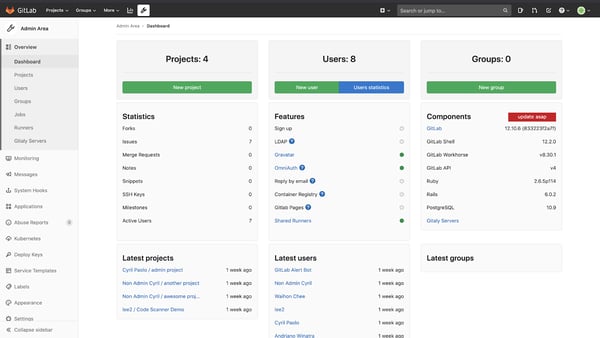
- Open your GitLab Enterprise Dashboard.
- If you’re an admin user, click on the wrench icon on the top middle portion of the screen to go to the Admin Area.
- Otherwise, if you’re not an admin user, click on your profile photo.
- Go to Applications
- Click on New Application.
- Fill in the following details
- Name: Horangi Pte Ltd
- Redirect URI: The URI Storyfier provided for you
- Select the following scopes:
- api: Grants complete read/write access to the API, including all groups and projects, the container registry, and the package registry. Storyfier needs this to interact with the Gitlab platform.
- read_user: Grants read-only access to the authenticated user's profile through the /user API endpoint, which includes username, public email, and full name. Also grants access to read-only API endpoints under /users.
- read_repository: Grants read-only access to repositories on private projects using Git-over-HTTP or the Repository Files API.
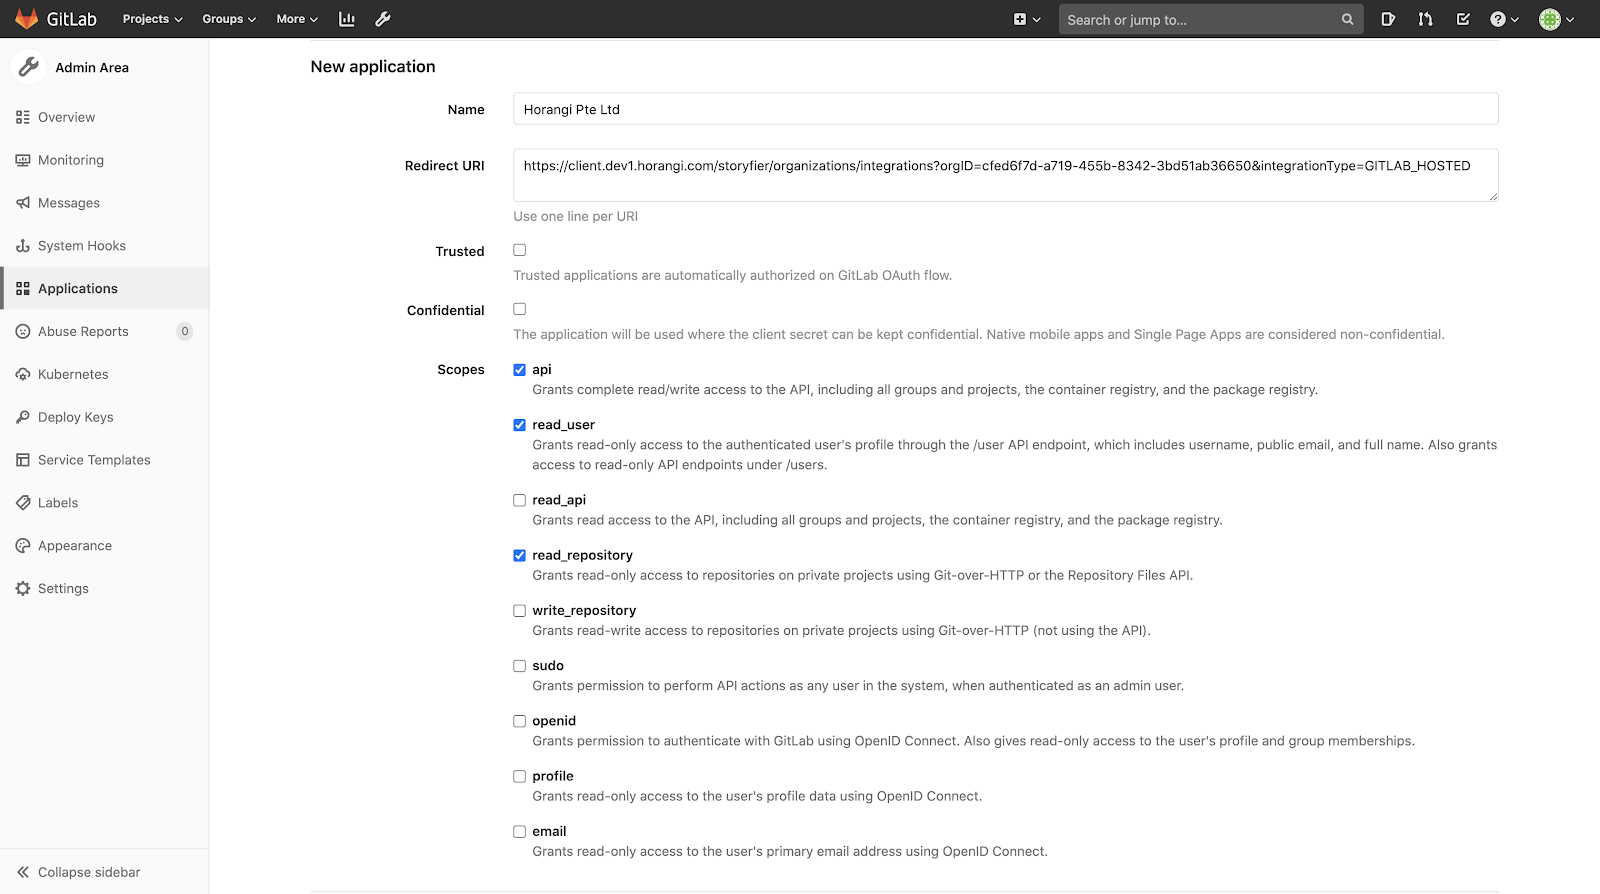
- Click on Submit.
- Copy your Gitlab Enterprise URL, Application ID, and Secret values.
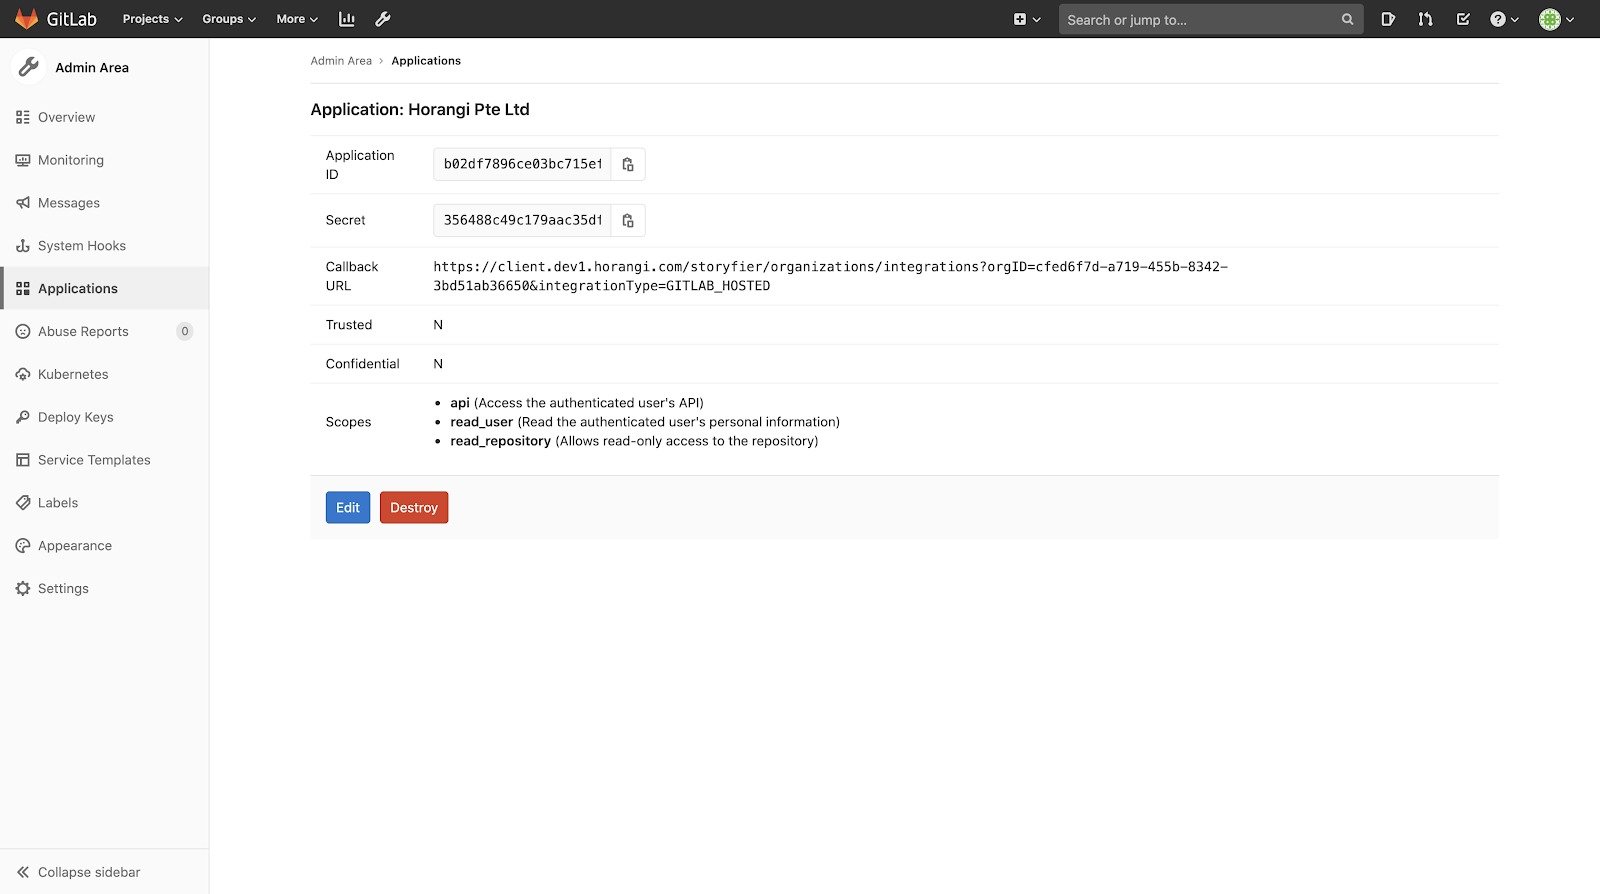
- Paste them to the corresponding fields in Storyfier.
- Click on Connect.
Make sure to paste the entire Gitlab Enterprise URL (including the protocol)