To start streaming GuardDuty findings in Warden Threat Detection, you must configure Amazon GuardDuty to forward the findings to the existing AWS S3 Bucket you integrated into Warden.
You can go to the existing Log Connector on the Warden Integration page to follow the instruction.
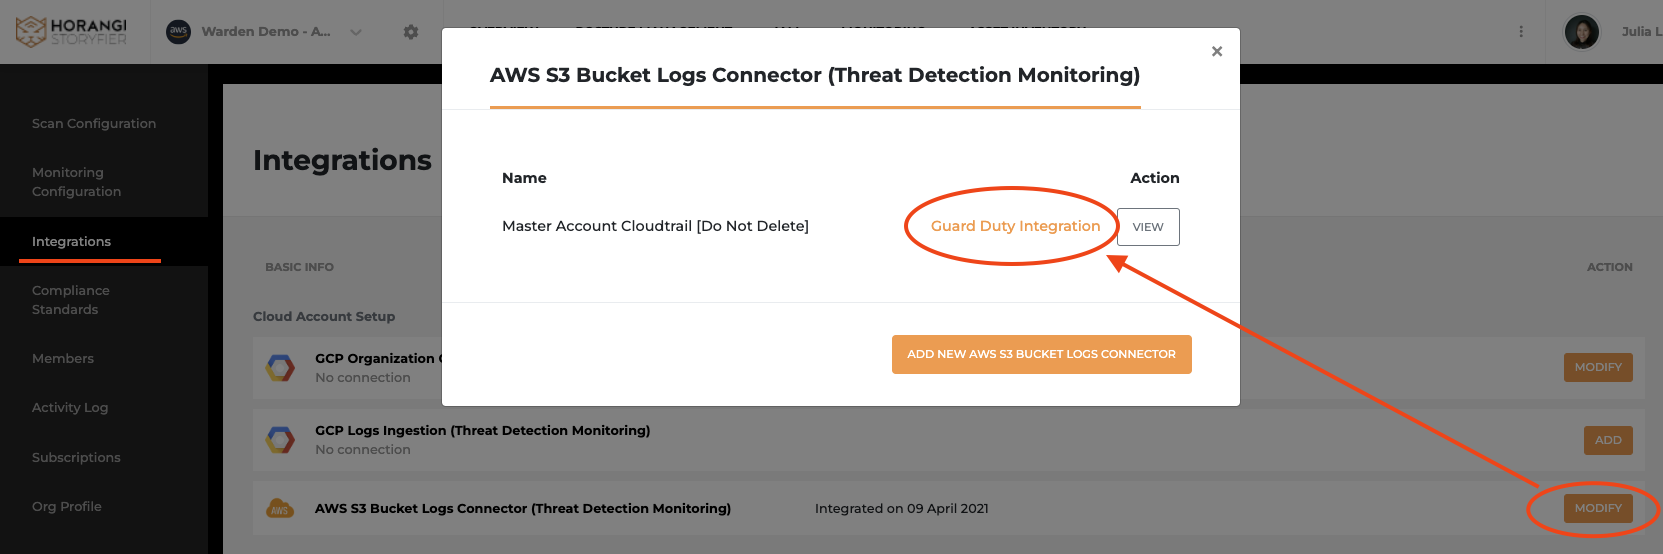
You can also preview the instruction details here:
- Enable GuardDuty in your AWS Environment. See Getting Started with GuardDuty
- Navigate to the GuardDuty service: https://console.aws.amazon.com/guardduty/home
- From the navigation, select Settings.
- Update the Frequency for updated findings field to Update CWE and S3 every 15 minutes.
- In the S3 bucket section, click Configure now.
- Select Existing bucket - In your account as the S3 bucket option.
- From the Choose a bucket list, select the S3 bucket name that has already been onboarded using the AWS S3 Bucket Logs Connector.
- Attach a policy granting GuardDuty permission to upload objects to your S3 bucket. For an example, policy see Granting GuardDuty permissions to a bucket.
{
    "Sid": "Allow GuardDuty to use the getBucketLocation operation",
    "Effect": "Allow",
    "Principal": {
        "Service": "guardduty.amazonaws.com"
    },
    "Action": "s3:GetBucketLocation",
    "Resource": "arn:aws:s3:::<your-aws-s3-logs-bucketname>"
},
{
    "Sid": "Allow GuardDuty to upload objects to the bucket",
    "Effect": "Allow",
    "Principal": {
        "Service": "guardduty.amazonaws.com"
    },
    "Action": "s3:PutObject",
    "Resource": "arn:aws:s3:::<your-aws-s3-logs-bucketname>/*"
},
{
    "Sid": "Deny unencrypted object uploads. This is optional",
    "Effect": "Deny",
    "Principal": {
        "Service": "guardduty.amazonaws.com"
    },
    "Action": "s3:PutObject",
    "Resource": "arn:aws:s3:::<your-aws-s3-logs-bucketname>/*",
    "Condition": {
        "StringNotEquals": {
            "s3:x-amz-server-side-encryption": "aws:kms"
        }
    }
},
{
    "Sid": "Deny non-HTTPS access",
    "Effect": "Deny",
    "Principal": "*",
    "Action": "s3:*",
    "Resource": "arn:aws:s3:::<your-aws-s3-logs-bucketname>/*",
    "Condition": {
        "Bool": {
            "aws:SecureTransport": "false"
        }
    }
} - For the KMS encryption, select Choose key from your account. Create a new KMS key with the following configuration:
- Add a policy to the KMS key that GuardDuty will use to encrypt findings. See Granting GuardDuty permission to a KMS key
- Copy the IAM Role ARN that was created during the onboarding of the AWS S3 Bucket Logs Connector. Add the following to the Key Policy, then save.
{
    "Sid": "Allow GuardDuty to encrypt findings",
    "Effect": "Allow",
    "Principal": {
        "Service": "guardduty.amazonaws.com"
    },
    "Action": "kms:GenerateDataKey",
    "Resource": "*"
},
{
    "Sid": "Allow use of the key",
    "Effect": "Allow",
    "Principal": {
        "AWS": "arn:aws:iam::<your-aws-account-id>:role/<your-aws-s3-log-processing-role>"
    },
    "Action": "kms:Decrypt",
    "Resource": "*"
} - Going back to the GuardDuty page, select the created key from the Key alias field.
- Save the configuration. You should be able to start receiving GuardDuty findings in Warden.


Haven't onboarded your AWS account on threat detection yet? Click here to see how to integrate logs into Warden Threat Detection.